Getting started with Maria Map Maker: Difference between revisions
No edit summary |
No edit summary |
||
| Line 37: | Line 37: | ||
[[File:3d-tiles-24px.png]] | [[File:3d-tiles-24px.png]] | ||
[[File:M3-Geoloc-black-32px.png|24px]] | [[File:M3-Geoloc-black-32px.png|24px]] | ||
[[File:M3-Routing_db.png]] | |||
The dataset is the actual geographical data, with accompanying styling information and metadata. Datasets are always stored in a product. A dataset comes in a variety of types in M3: | The dataset is the actual geographical data, with accompanying styling information and metadata. Datasets are always stored in a product. A dataset comes in a variety of types in M3: | ||
* Vector | * Vector | ||
Revision as of 08:15, 1 July 2022
Maria Map Maker (M3) is an application to create, edit and manage maps. These maps can be used in other applications built with the MARIA Geo Development Kit (GDK).
This guide will take you the shortest path from first-time startup to a finished map. You will also hopefully get a feel for the workflow in M3.
Concepts
First, a quick explanation of a few key concepts in M3. Follow the links for more in-depth documentation.
Workspace
A workspace is simply a folder containing one or more products. The workspace should only contain products created by M3 - no subfolders or loose files. Working with maps requires a lot of reading and writing from disk. This means that you should create your workspace on a fast storage device (such as a local SSD) if possible.
Product
The product is the basic container for map data and all related files. It also contains metadata describing the product and its contents. The product ususally contains one or more datasets with the same theme, covering a specific geographical area.
The product consists of a folder on disk, with a specific naming scheme: <Product name>_<Sequence number>_<Version ID>
Example: NorwayTopoRaster_v25_db95990c
Basemap/overlay
The basemap and the overlay are lists of map layers, where each layer is a reference to an existing raster or vector dataset, or the address of a web map. Information about visibility, scales and draw order is also stored here.
Basemaps and overlays are the starting points for editing maps in M3. They are also the entry point to your maps when they are used in other MARIA GDK applications.
Example: Norway Topo Raster N50 - N5000
Dataset
![]()
![]()
![]()
![]()
![]()
![]() The dataset is the actual geographical data, with accompanying styling information and metadata. Datasets are always stored in a product. A dataset comes in a variety of types in M3:
The dataset is the actual geographical data, with accompanying styling information and metadata. Datasets are always stored in a product. A dataset comes in a variety of types in M3:
- Vector
- Raster
- Elevation
- 3D
- Location
- Routing
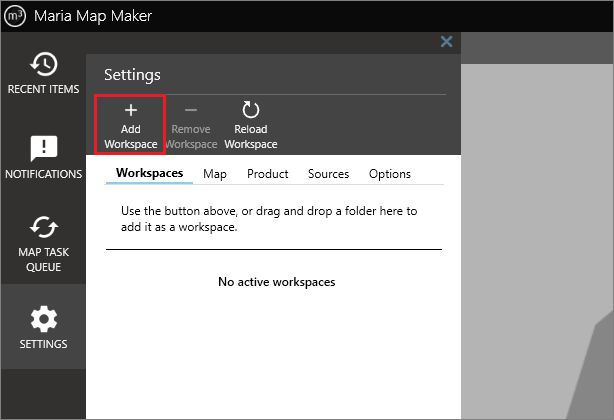
When starting up Maria Map Maker for the first time, it's necessary to define a workspace. This could be a folder where you have some existing products, or an empty folder where you intend to create new products. Click the SETTINGS button on the left sidebar, and the Workspaces tab will be the first option. Each workspace you add gets its own button on the sidebar.
Now that you have a workspace configured, you can start importing data. The quickest way to do this is to simply drag and drop a folder or file on the map area. This will open the Map Import dialog. In this example, we'll import at simple GeoTIFF file. We will leave all the options as they are.
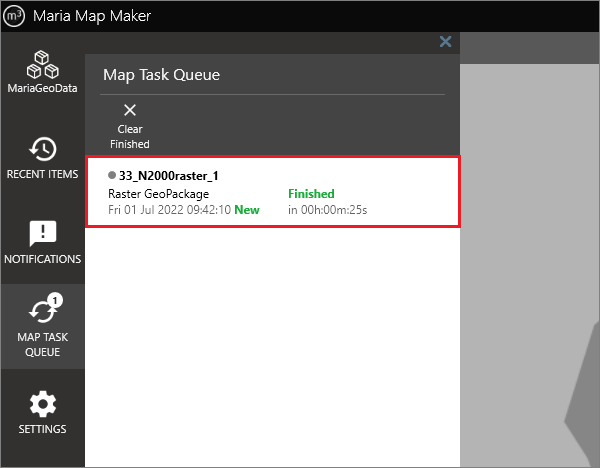
Starting the import creates a Map Task, which you can follow in the Map Task Queue window.
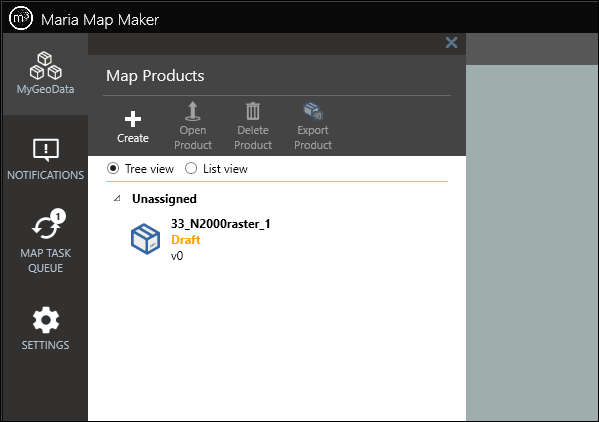
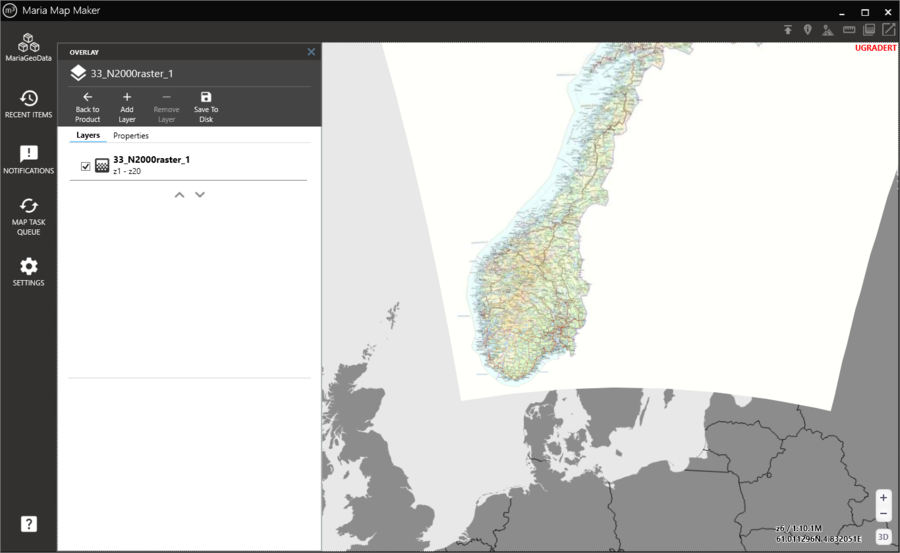
When the map task is finished, a new product will have been created. The product will contain the raster dataset you imported, as well as an overlay with a reference to this dataset. To view the data, open your workspace, and double-click the new product.
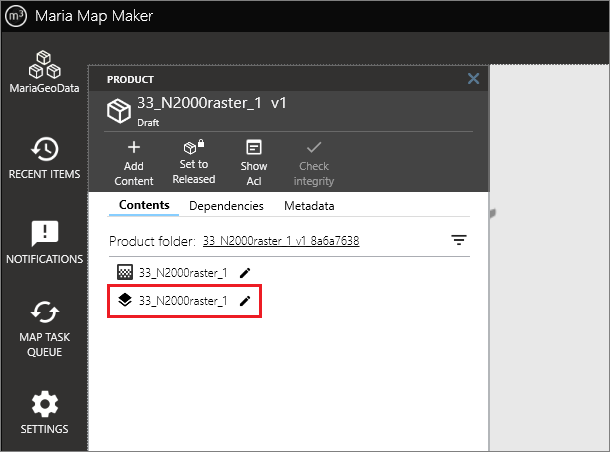
In the product window, double-click the overlay.
You should now see the dataset you imported. This product is now compatible and will be shown as is (background map not included) in any Maria GDK based application.
