Raster layers: Difference between revisions
Jump to navigation
Jump to search
No edit summary |
No edit summary |
||
| (3 intermediate revisions by the same user not shown) | |||
| Line 1: | Line 1: | ||
[[File:raster black.png|none]] For raster layers there are few settings besides the visibility and | [[File:raster black.png|none]] For raster layers there are few settings besides the visibility and zoom extents described in [[Basemaps and overlays#Managing layers|Basemaps and overlays]]. In datasets which use GeoPackage files, most settings are input as parameters in the map import process, and can't be changed later. | ||
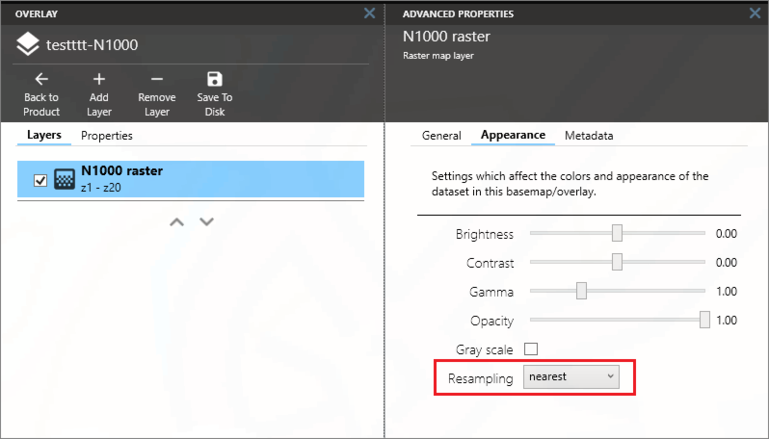
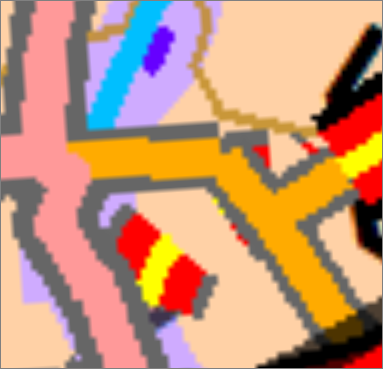
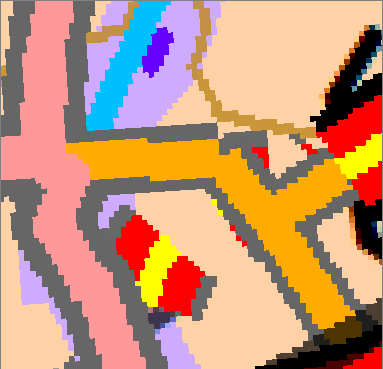
If you have thematic raster data where the pixels should have precise values, you can change the rendering resampling method in the '''Appearance''' tab. Setting the '''Resampling''' parameter to ''Nearest'' will render each pixel as it is when zooming in past the native zoom level. | |||
[[File:M3_rasterlayer_appearance.PNG|769px]] | |||
[[File:M3_rasterlayer_appearance_linear.PNG]] | |||
[[File:M3_rasterlayer_appearance_nearest.PNG]] | |||
[[Category:Maria Map Maker| | [[Category:Maria Map Maker|014]] | ||
Latest revision as of 12:15, 2 January 2026
For raster layers there are few settings besides the visibility and zoom extents described in Basemaps and overlays. In datasets which use GeoPackage files, most settings are input as parameters in the map import process, and can't be changed later.
If you have thematic raster data where the pixels should have precise values, you can change the rendering resampling method in the Appearance tab. Setting the Resampling parameter to Nearest will render each pixel as it is when zooming in past the native zoom level.


