M3 template
The basemap and overlay are collections of map layers, and the starting point for editing and styling maps in Maria Map Maker. They reside in products and can be created and opened from the product window. The difference between a basemap and an overlay in M3 is that the basemap can have special Dynamic layers, which can reference entire overlays using tags.
At the very basic level, the basemap and overlay are XML files which contain lists of references to datasets or web maps. In the Maria GDK core documentation, the basemap and overlay are collectively referred to as templates.
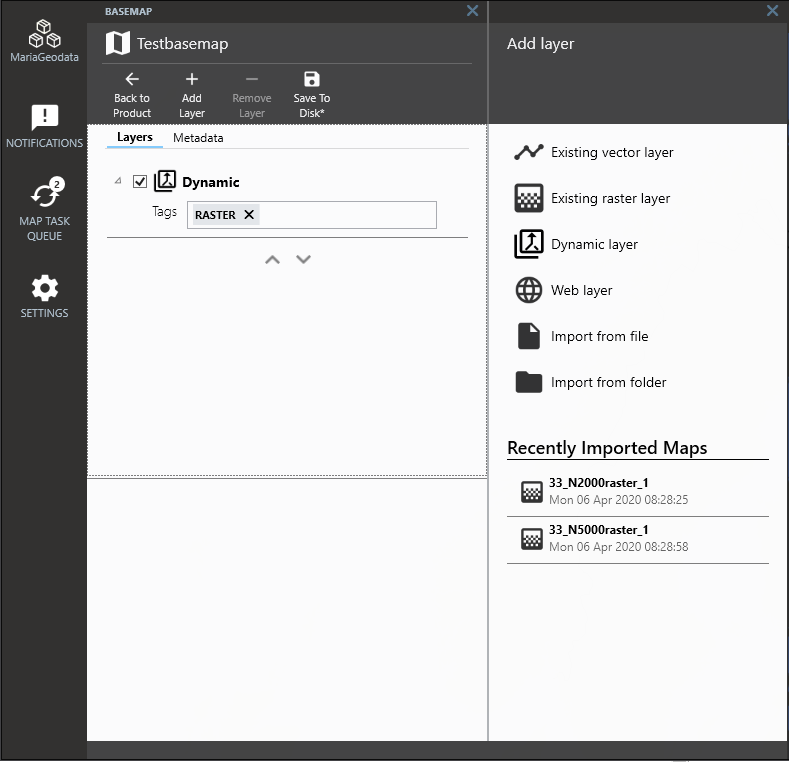
There are several different types of layers which can be added to a basemap/overlay:
Managing layers
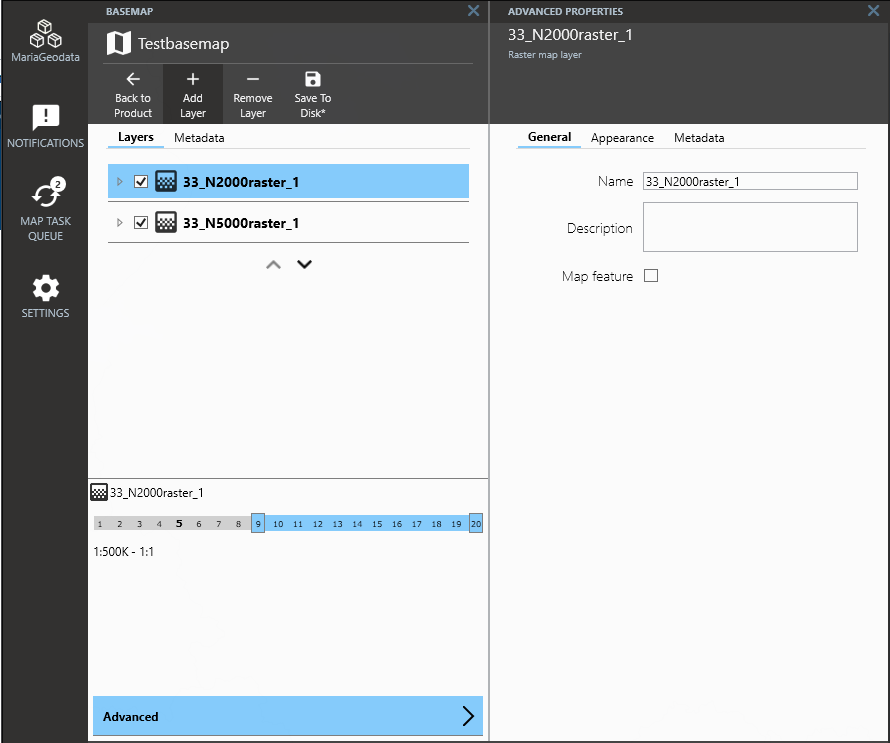
Managing layers is done with Add Layer and Remove Layer. The checkbox on each layer controls visibility. The top layer in the list is drawn on top in the map. You can change the drawing order by dragging and dropping layers. Clicking a layer reveals the scale selector on the bottom pane. This lets you limit the zoom level range in which the layer is visible.
To open Advanced properties for the layer, use the button at the bottom, or simply double-click the layer. The General and Appearance tabs allows you to change how the map signature appears in this particular basemap or overlay. In other words, changes made here are only applied to the basemap/overlay. The map signature itself is not changed.
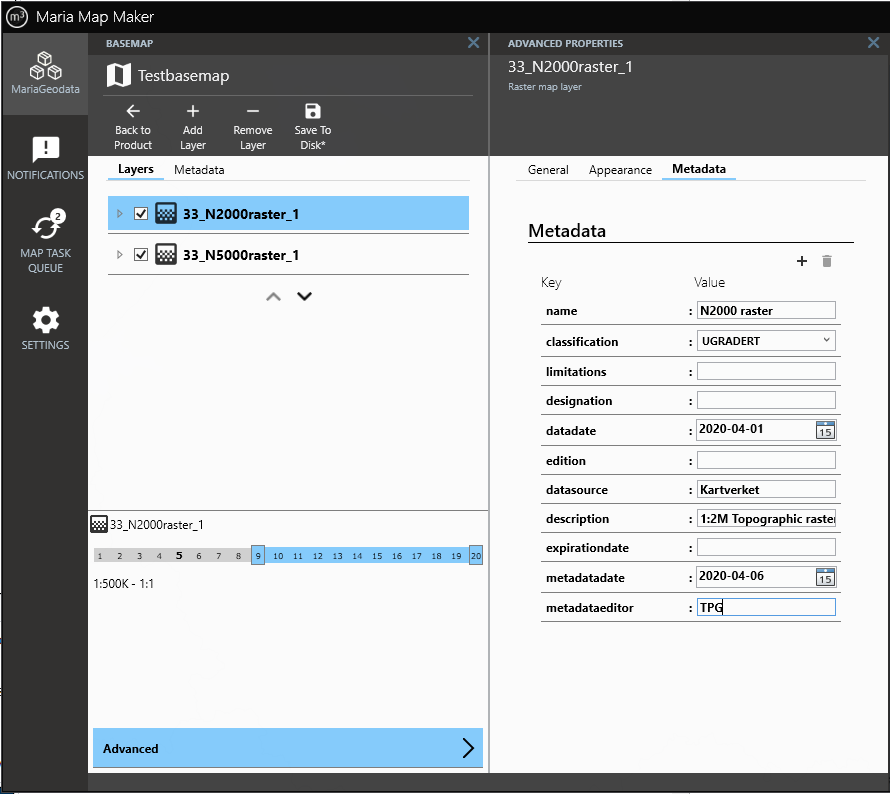
Raster and vector layers have a Metadata tab. Here you can type in information about the map signature and/or the underlaying data source. You can include additional fields and delete them again with the buttons on the top right in this tab. The default fields cannot be deleted here, this must be done in the settings file. The metadata is stored in a file next to the map signature, and they will have the same base name.
Dynamic layers are a special basemap layer type where instead of referencing a map signature, you add one or more tags. Any overlay (and its collection of layers) with the same tags will be displayed via the dynamic layer. The inner workings of dynamic layers and overlays is explained in the Maria GDK core documentation
In the overlay
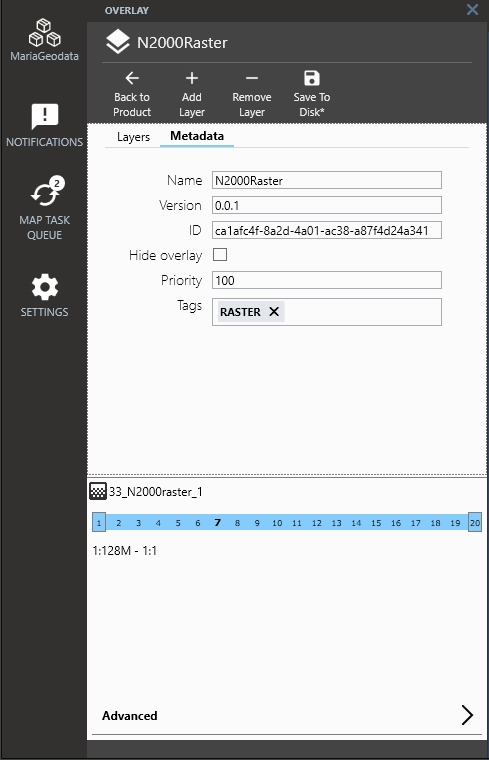
To tag an overlay, click the Metadata pane. Type a in a tag in the Tags field, and press Enter to complete it. You can add multiple tags, and you can remove them by clicking the "x" on each tag. The Priority field is a number which is used to decide the drawing order if there are multiple overlays with the same tag which also overlap. The overlay with the lowest number will be drawn on top. Finally, Save to disk.
In the basemap
In a basemap, use Add Layer→ Dynamic layer. You can then add tags to the dynamic layer in the same way as in the overlay. The dynamic layer can be re-named and scale limited in the same way as other layer types. After clicking Save to disk, this basemap will display all overlays with the corresponding tag. If the overlays have multiple layers of their own, the internal drawing order and scale limits will be respected.


